
Harness the Skill: How to Disassemble a Ceiling Fan
Ever faced a situation where your ceiling fan started acting up? There is a good chance that a simple disassembly and cleaning can rectify this problem. But where do you start? This is where we step in. We'll guide you through the journey of disassembling a ceiling fan, equipping you with the knowledge to do it on your own. This process not only saves you the cost of hiring a professional but also empowers you with a valuable skill. So, if you're keen on learning this, let's dive into the process.
1. Delving into the Heart of a Ceiling Fan
When one thinks about a ceiling fan, the image that comes to mind is that of a seemingly simple household fixture that provides the all-important task of keeping our rooms cool. However, inside each of these machines, there's a labyrinth of wires, screws, and parts, all intricately put together to ensure the perfect functioning of the fan. It's a fascinating world that stays hidden away unless it malfunctions or when the fan needs to be disassembled for moving or cleaning purposes.
Disassembling a ceiling fan might seem like a daunting task at first. With the right guidance and a bit of patience, it can be done efficiently and safely. It is crucial to remember, though, that it involves dealing with electricity and moving parts, so safety precautions are of utmost importance. Always switch off the electricity supply and wear protective gloves before starting the process.
Contrary to common perception, the procedure of dismantling a ceiling fan doesn't require professional tools or skills. Most ceiling fans have been designed to be user-friendly, and their assembly can be reversed using basic household tools such as a screwdriver and a ladder. Always keep these tools and a safe workspace ready before beginning.
Finally, documentation is vital. Many people tend to skip this step, but it can save a lot of time and confusion later on. Click pictures or make notes at each step of the disassembly. These would serve as a valuable guide when you need to put the fan back together again.
2. Shedding the Outfit: Removing the Fan Blades
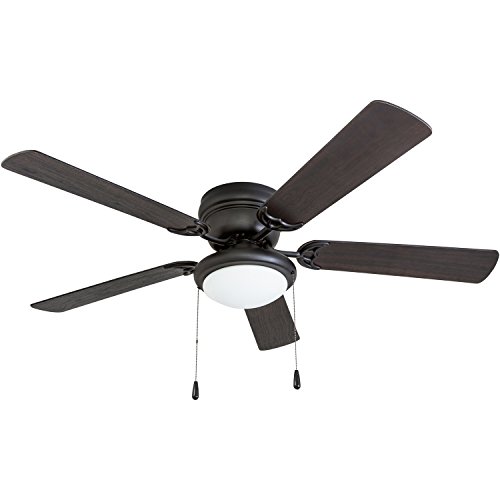
The blades of a ceiling fan are like the petals of a flower, but they can also be the thorns if not handled carefully. The first step to disassembling a ceiling fan is to remove its blades. Usually, there are three to five blades in a fan, each attached to the motor assembly through screws.
Before removing the blades, always ensure that the fan is switched off and stationary. You might need a step ladder to reach the fan. Once you are sure about the safety measures, start unscrewing the blades one by one. Use gentle pressure while unscrewing to avoid damaging the blades or the screws.
While removing the blades, it is a good idea to have a secure place ready to keep them. This is crucial because the blades are often the largest parts of a fan and prone to damage if not stored properly. Consider wrapping them in a soft cloth or placing them in a box until the reassembly.
Upon removing the blades, you would be able to see the fan's motor assembly. Remember to document this stage with pictures or notes for future reference. This would also be a good time to clean the motor assembly and inspect it for any damages or wear and tear.
3. Uncovering the Motor: Detaching the Motor Assembly
The motor assembly is the heart of a ceiling fan. It houses the motor that drives the blades and can often be tricky to dismantle. However, with care and precision, it can be done quite efficiently. The assembly is usually held together by a few screws which can be removed using a screwdriver.
Before beginning the disassembly of the motor assembly, make sure you understand its parts and their arrangement. This will help you in the careful handling of the components and in their subsequent reassembly. It's also a good idea to take pictures or make sketches for later reference.
As you detach the motor assembly, be careful with the electrical wires connected to it. Disconnect these wires carefully to avoid damaging them. These wires are color-coded, so make a note of which wire goes where. This will be invaluable when you are reassembling the fan.
Once the motor assembly has been detached, it is advisable to clean it thoroughly before reassembly or storage. Over time, dust and grime can accumulate in these parts, affecting the fan's efficiency. However, be sure not to use any water or liquid cleaning agents as they could damage the electrical components.
4. The Final Touches: Dealing with the Fan's Canopy and Mounting Bracket
Once the motor assembly has been removed, the last part that usually remains is the canopy and the mounting bracket. The canopy is the part of the fan that is attached to the ceiling and hides the mounting bracket and the wiring.
The canopy is generally held in place by screws. However, some models might have a clip-on system. Once you've figured out your fan's design, you can proceed to remove the canopy carefully. Remember to be gentle as the canopy is often made of thin, delicate material that can easily bend or break.
Underneath the canopy, you will find the mounting bracket. This is the piece that holds the entire fan to the ceiling. The mounting bracket is usually attached to the ceiling with screws. Be careful while unscrewing it, as the bracket could fall down once the screws are removed.
The final step involves disconnecting the wires that connect the fan to the house's electricity supply. These wires are usually color-coded, making it easy to know which wire goes where. Always ensure that the electricity supply is turned off before handling these wires.
With the removal of the mounting bracket, the disassembly of the ceiling fan is complete. Ensure all the components are safely stored and ready for reassembly or moving.
5. Summing Up: The Art and Science of Disassembling a Ceiling Fan
Disassembling a ceiling fan may seem like a complex task at first, but with the right guidance and precautions, it is entirely doable. The key is to take one step at a time, documenting each stage, and ensuring safety at all times.
From the removal of the fan blades to the detaching of the motor assembly, and finally to the disassembly of the canopy and the mounting bracket, each step brings you closer to understanding the inner workings of this common household appliance.
The process of disassembly also provides a great opportunity to clean and inspect the different parts of the fan. It helps keep the fan functioning at its best, increasing its lifespan and efficiency.
So the next time you need to move your ceiling fan or give it a thorough clean, don't hesitate to disassemble it. With this guide and a bit of patience, you're more than equipped to handle the task.
Dive deeper:


Best Small Flush Mount Ceiling Fans 2026 Ultimate Picks

Best Smart Ceiling Fan India 2026 For Effortless Comfort

Best Smart Ceiling Fans with Lights for 2026: Top Picks

Best Smart Home Non Ceiling Fans 2026 For Ultimate Comfort

Best Outdoor Misting Ceiling Fan 2026 For Ultimate Comfort

Best Ceiling Fans With Lights For Vaulted Ceilings 2026 Top Picks

Best Outdoor Ceiling Fans For Porch 2026 With Style And Breeze

Best WiFi Enabled Ceiling Fan 2026 For Effortless Comfort





