How to Install Permanent Christmas Lights Safely?

Start by mapping the roofline and measuring each section before you climb or attach anything. A clear plan helps prevent gaps and awkward joins, and gives you a chance to choose a safe way to reach each spot. Use lights made for outdoor use, then follow the maker’s directions for attaching them and connecting the power.
The right approach depends on how high and steep the roof is, whether you can reach it safely, and what the lights can attach to without harming the roof or siding. Check whether the outdoor outlet and connections can stay protected from rain, too. If the job needs new wiring or safe access is uncertain, bring in a professional. Start with the layout and equipment checks below before deciding to install the lights yourself.
Map the roofline before you buy or mount anything
Start on the ground, where you can see the whole front of the house without balancing on a ladder. Decide which edges you want lit, such as the front eaves, a porch roof, or a garage peak. A simple sketch helps you keep the route clear and spot awkward corners before you begin.
Measure each straight section along the path where the lights will sit. Add the sections together, then note corners, roof peaks, and places where the lights may need to stop or connect. Measure the route itself rather than the ground below it, since a sloped roofline can be longer than it looks from the yard.
- Mark where the lights will start and end.
- Note corners, changes in height, and any gaps between roof sections.
- Mark where the power supply can reach an existing outdoor outlet.
- Allow for the route the cords must follow, without stretching them tight.
Check the light system’s instructions for how its sections connect and how much distance the power cord can cover. Don’t assume you can add another strand or cut a section to fit. If the route is longer than the maker allows, plan a different layout or ask the maker what connections are permitted.
Think about what you’ll see from the street and from inside the house. For example, a light line that stops in the middle of an eave may look unfinished, while moving the starting point to a corner can hide the end. If you want lights on more than one side of the house, confirm that the system allows that route before you commit to a mounting plan.
Check the light system and the mounting surface first
Read the installation instructions before opening the package or climbing up. Confirm that the lights are meant for outdoor use, and check what the maker says about rain, snow, temperature, connections, and power. The outdoor rating is the maker’s mark or label that says the lights are intended for outdoor exposure. A product name or picture alone doesn’t confirm that.
Look at the mounting instructions for your specific surface. A system may use small fasteners called mounting clips to hold lights in place, but the allowed clips and attachment points vary. Some methods may suit a smooth trim board but not a shingle edge, gutter, or textured siding.
Don’t plan to drill into roofing, bend a gutter, or push a fastener through a cord unless the maker’s instructions clearly allow the method. A hole can let water into the house, and a pinched or pierced wire can create an electrical hazard. Never use staples, nails, or metal tacks that puncture a light cord.
Check the roofline from the ground for loose trim, damaged shingles, sagging gutters, or peeling paint. Lights won’t fix a loose surface, and attaching weight to a weak edge can make the damage worse. Repair the surface first or have a qualified person inspect it.
For more ideas about lights intended for outdoor displays, see these outdoor Christmas light options. Use the product information to confirm the exact outdoor use and mounting rules for any system you consider.
Gather supplies and make a safe work area
Gather only what the light maker permits. You may need the light sections, approved mounting clips, the power supply, the supplied cords, and a ladder suited to the height and ground conditions. Keep the instructions with you so you can check the order of the connections as you go.
- Choose a dry, calm day, and wait if rain, ice, or strong wind makes the roofline or ladder slippery.
- Set the ladder on firm, level ground, away from doors, walkways, and vehicle traffic.
- Ask another adult to stay nearby and steady the ladder if the setup allows.
- Keep cords, tools, and packaging out of the walking path.
- Keep the lights unplugged while you attach them.
Don’t climb onto a wet roof or reach sideways from a ladder to grab the next section. Move the ladder instead. If you can’t reach the mounting point while keeping your body centered on the ladder, the job needs safer access, not a longer reach.
Keep children and pets away from the work area. If the ladder must stand near a power line, stop and call a qualified professional. Never carry a long light section or ladder where it could touch an overhead wire.
Attach the lights using the maker’s order
Follow the installation order in the instructions, since some systems require mounting parts to be placed before the light sections are connected. Keep the power supply unplugged throughout mounting. Work on one reachable section at a time rather than carrying loose lights along the roof.
- Find the approved starting point. Use the point shown in the instructions, often near the planned power route. Check that the first section faces the right way and that its cord can reach without being pulled tight.
- Place the approved clips or fasteners. Follow the spacing and position the maker specifies. Keep each fastener away from the wire, and don’t force a clip onto a surface where it doesn’t sit securely.
- Seat the lights gently. Press only where the instructions show. Don’t tug a wire to move a light, twist a connection to make it fit, or crush a cord under a clip.
- Continue along the planned route. Pause at each corner and peak to check that the next section will lie naturally. A tight turn can pull on a connection or lift a clip, so use only the bend or connector the instructions allow.
- Check the line from the ground. Before moving to the next area, look for gaps, drooping sections, and clips that have shifted. Correct them while the lights are still unplugged and easy to reach safely.
Don’t hang lights from a gutter unless the maker permits that method and the gutter is in good condition. Don’t use a shingle clip on trim, or a trim fastener on siding, just because it seems to fit. The attachment needs to suit both the light system and the surface.
If the roofline requires working above a steep slope, over a porch roof, or near a fragile edge, stop. A professional installer can use safer access equipment and avoid putting weight on areas not meant to support it.
Keep every connection protected and power the lights safely
Once the lights are mounted, follow the maker’s order for joining sections and attaching the power supply. Keep plugs and connection points away from places where water collects, such as a low gutter, roof valley, or puddle-prone spot on the ground. Use only the covers or waterproof cord shields supplied or approved for that system.
- Check each connection while it is unplugged. Make sure the plug ends fit as the instructions show, with no bent, cracked, or loose parts. Don’t force a connection that doesn’t line up.
- Place the power supply where the maker allows. Keep it off the ground if the instructions call for that, and don’t bury it under leaves, snow, or decorations.
- Route cords without pinching or tripping hazards. Keep cords away from sharp edges, hot surfaces, doors, and spots where people walk. Don’t run a cord through a window or door that will squeeze it shut.
- Use an outdoor outlet with a reset button. This outlet cuts power if it senses an electrical problem. If you don’t have one, or the outlet is damaged, have a qualified electrician advise you instead of using an indoor outlet or an improvised adapter.
- Plug in only after the setup is complete. Check for water, damage, or loose connections first. If a breaker trips, a plug feels hot, you smell burning, or you see sparks, unplug the system if you can do so safely and stop using it.
Keep all connections dry as the maker directs, even when the lights are described as waterproof. That word doesn’t mean every plug or power supply can sit in standing water. Never handle a plug with wet hands or while standing in water.
Don’t overload an outlet by adding unrelated decorations or using several adapters. Follow the system’s connectable limit, which is the number or amount of light sections the maker allows to join. That limit varies by system, so check the instructions rather than guessing.
After plugging in, look from the ground for dark sections, flickering, loose clips, or cords pulling against a connection. Switch the lights off and unplug them before adjusting anything. If the same section keeps going dark or a connection shows damage, stop using the system and contact the maker or an electrician.
Call a professional when access or wiring is unsafe
Do the work yourself only if you can reach the roofline safely from a stable ladder, follow the maker’s mounting method, and plug the system into a suitable existing outdoor outlet. The height and slope of the roof, the strength of the mounting surface, and the route to power all affect whether the job is manageable.
Hire an installer if you would need to walk on a steep or fragile roof, lean far beyond the ladder, work over a drop, or attach lights where the surface is loose or damaged. Call an electrician for new wiring, a new outlet, a damaged outlet, or any work inside an electrical box. Don’t open wiring or try to fix a breaker that keeps tripping.
Stop right away if the weather turns wet or windy, the ladder shifts, or you can’t keep both hands free enough to work safely. If a cord is cut, a plug is cracked, or a connection has taken on water, leave it unplugged. Replace damaged parts only as the maker directs, or ask a qualified professional.
Choose a permanent light system that suits your roofline
A permanent outdoor light kit can make sense when its mounting method matches your trim or other approved surface, its outdoor-use instructions fit your weather exposure, and its power route reaches a suitable outlet. Before buying, check the full installation guide, the allowed mounting surface, connection limits, power-supply placement, and what happens at corners or roof peaks.
Measure your route first and compare it with the kit’s listed layout and connection rules. If the maker doesn’t explain how the lights attach to your surface or protect outdoor connections, ask before buying. A kit that can’t be mounted and powered safely for your house isn’t a good fit, even if its light pattern looks right.

- LFR Score7.4
LFR Score is a ranking system developed by lightfansreviews.com. LFR Score has no relationship or impact from any manufacturers or sales agent websites. Learn more
- BrandMJHH
Last update on 2026-11-08 / Affiliate links / Images, Product Titles, and Product Highlights from Amazon Product Advertising API
FAQs
Can I install permanent Christmas lights without drilling?
Possibly, but only if the light maker approves a no-drill mounting method for your surface. Use the clips or fasteners listed in the instructions, and don’t substitute tape, nails, or another attachment that could fail or damage the house.
Can I leave permanent Christmas lights plugged in all year?
Follow the maker’s instructions for storage, weather exposure, and power use when the lights aren’t on. Turn the lights off or unplug them as directed, and check the cords and connections before each season for cracking, looseness, or water damage.
What should I do if the lights go out after rain?
Switch them off and unplug them if you can reach the plug safely without standing in water. Don’t touch wet connections or plug the lights back in to see whether they work. Let a qualified electrician or the maker advise you if water reached a plug, power supply, or outlet.
Should I install lights on a steep roof myself?
No, not if reaching the mounting points means walking on the slope, leaning far from a ladder, or working near an unprotected edge. Hire an installer who can use safe access equipment and follow the light maker’s instructions.

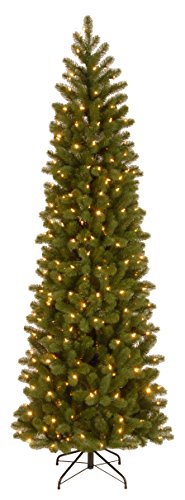
Best Dual Light Christmas Tree 2026 With Magical Glow

Best Rated Outdoor Christmas Lights 2026
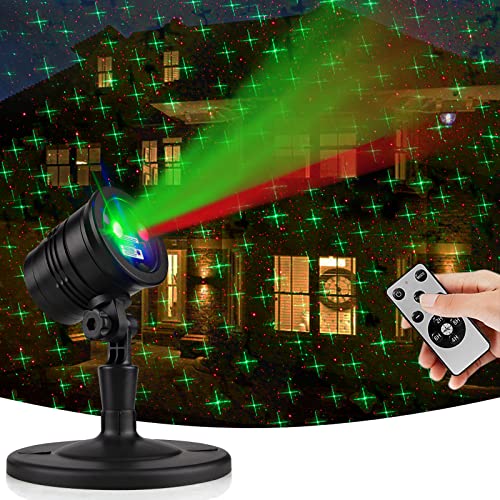
Best Outdoor Laser Light Projector 2026 For Stunning Night Displays
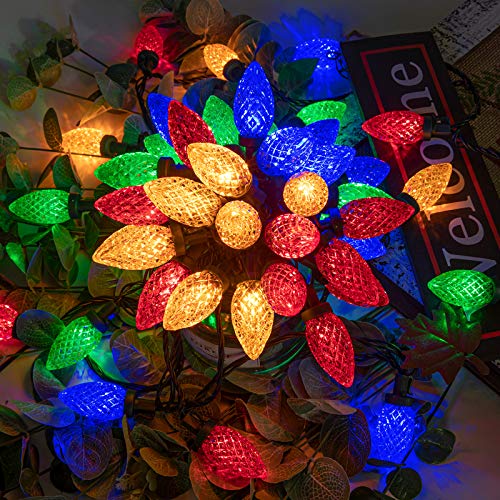
Best Value Outdoor Christmas Lights 2026 Brighten Nights

Best Christmas Lights For Bushes 2026 Brighten Your Yard
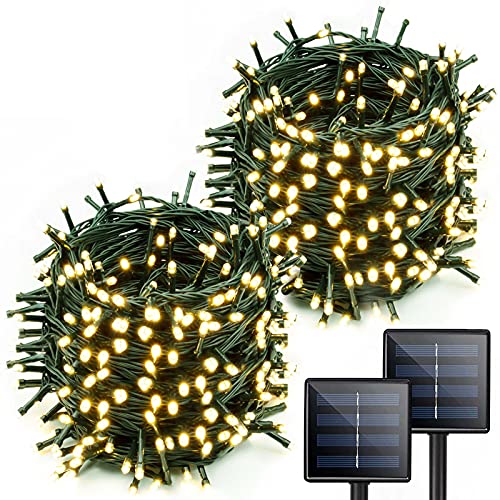
Best Outdoor Waterproof Christmas Lights 2026 For Festive Glow
Best Village Christmas Lights 2026 Magical Display Picks
12 Best String Lights For Christmas Tree of 2026 To Prevent Dark Patches