
How to Remove Fluorescent Light Plastic Cover: A Fail-Proof Guide
How to remove fluorescent light plastic cover can seem intimidating to the uninitiated, but worry not! We've got you covered. Our easy-to-follow guide, bursting with helpful tips, will turn you from a novice into a pro in no time. Ever wondered why your room is not reflecting your mood or personality? The secret often lies in the tiny details like lighting. With our guide, you'll get to know the key factors and tricks that will help you remove that fluorescent light plastic cover safely and efficiently. Let's dive in and brighten up your space!
A Close Look at the Composition of Fluorescent Light Fixtures
Fluorescent light fixtures consist of several parts. First and foremost, there is the bulb, the main light source. The tube's coating helps to convert ultraviolet radiation into visible light. Second, the fixture itself often consists of metal and is designed to safely hold and protect the bulb.
Next, within the fixture, there is a ballast, which manages the flow of electricity through the bulb. The ballast is a critical component, ensuring that the fluorescent bulb receives the correct amount of electricity to function correctly, without overheating or experiencing other issues. It's typically encased within the metal fixture for safety reasons.
In many cases, a plastic cover or diffuser is placed over the fluorescent bulb. This piece is primarily for safety and aesthetic purposes. It helps distribute the light evenly across a room, prevents glare, and shields the bulb from potential damage.
Finally, the last key component of a fluorescent light fixture is the starter, which initiates the flow of electricity into the bulb. The starter is often a small, cylindrical component located near the fixture's base, easily replaced if necessary.
Precautions to Observe Before Starting the Process
Before diving into the process of removing the plastic cover from your fluorescent light fixture, it is crucial to consider some safety measures. The first measure is to turn off the power supply to the light fixture. This is essential in order to avoid any possible electric shock while handling the fixture.
Next, consider the surface on which you are standing. Make sure it is sturdy and stable. In most cases, you will need to use a ladder or step stool to reach the light fixture. To avoid falls, ensure the ladder or stool is placed on a flat, non-slippery surface.
Another significant precaution is to have proper protective gear. Although this may seem unnecessary when simply removing a plastic cover, the risk of accidentally breaking the bulb is always present. Shards of glass from a broken bulb can cause serious injury. Safety goggles and gloves are therefore recommended.
Lastly, if the fluorescent bulb is old and has lost its original brightness, consider replacing it while you have the cover off. Old bulbs can lose efficiency and become dim over time, meaning you may not be getting the best lighting for your space.
Steps for Safely Removing the Plastic Cover
With safety measures in place, you can now start the process of removing the plastic cover from the fluorescent light fixture. Begin by locating the clips or screws that hold the cover in place. In some cases, these might be at the ends of the fixture or along its sides. Carefully loosen them without fully removing them yet.
The second step involves gently pushing up the plastic cover. This should allow you to remove it from the fixture. Be careful not to use excessive force, as this might crack or damage the cover. The cover should come off with a bit of a wiggle, sliding out from under the clips or screws.

Once the plastic cover is off, inspect it for any damage or dirt. Dust and debris often accumulate on these covers over time, reducing the amount of light that can pass through. Cleaning the cover with a mild detergent and a soft cloth can help restore its transparency and efficiency.
Finally, remember to replace the cover once you've finished whatever task required its removal. Align the cover with the fixture and gently slide it back under the clips or screws. Once in place, secure it by tightening the clips or screws.
Troubleshooting Tips for Stubborn Covers
Sometimes, the plastic cover may prove challenging to remove. This can be due to several reasons such as a stiff clip or screw, or even a cover that has slightly deformed over time. If you encounter such a situation, do not resort to force as it can lead to breakages.
Instead, try loosening the clips or screws further. If the clips are stiff, a bit of lubricant can help. A small drop of oil applied to the moving parts of the clip should do the trick. However, be sure to clean any excess oil to prevent it from dripping onto the bulb.
If the problem is with a deformed cover, you may need to gently manipulate it back into shape. Heat can help make plastic more malleable. Consider carefully using a hairdryer to warm up the cover before trying to reshape it. Remember, excessive heat can damage the cover or even cause it to melt. Use the lowest heat setting and keep the hairdryer moving to avoid concentrating heat in one spot.
When all else fails, consider seeking professional help. A handyman or electrician would have the right tools and experience to handle the job without causing damage.
Maintenance and Care for Your Fluorescent Light Fixture
Regular maintenance of your fluorescent light fixture extends its lifespan and ensures it works at peak efficiency. One essential maintenance task is cleaning. Dust and debris can accumulate on both the bulb and cover, reducing the light's output.
To clean the fixture, first turn off the power and remove the plastic cover as described earlier. Then, using a soft, damp cloth, gently wipe the bulb and the inside of the fixture. Be careful not to get any water on the electrical components. You can clean the plastic cover with a mild detergent before drying it and replacing it.
Regularly checking the bulb for signs of aging is also crucial. An old, dim bulb consumes the same amount of power as a new one but produces less light. Replacing such bulbs can save you money on your electricity bill and give you better lighting.
Remember to replace the plastic cover securely every time you remove it. The cover is there to protect the bulb and diffuse the light. Leaving it off could lead to a broken bulb or glaring, uneven light distribution.
Lastly, even with the best care, the fixture components will eventually wear out. When that happens, consider replacing the entire fixture. Newer models are often more energy-efficient and come with features such as dimmable lights or a more aesthetically pleasing design.


Best Rechargeable LED Light Bulbs 2026 For Brighter Living
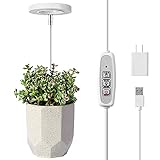
Best Grow Light For Single Plant 2026 Top Picks

Best Track Lighting for Vaulted Ceiling 2026 Top Picks

Best Track Lighting For Studio 2026 Top Picks And Insights
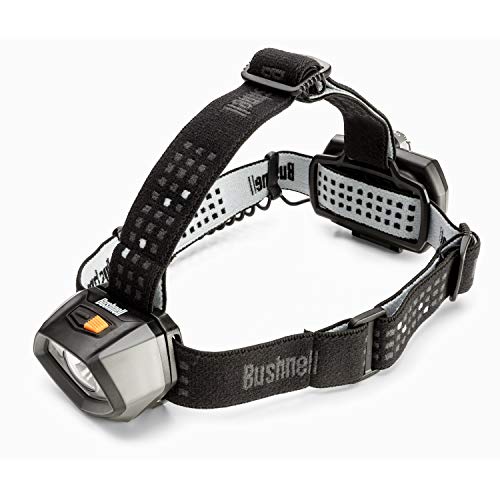
Best Color Light for Tracking Bloodtrail 2026 Top Picks

Best Track Lighting Heads Pendants 2026 Brighten Spaces Smartly
Best Track Lighting for Small Kitchen 2026 Brighten Every Corner

Best Track Lighting For Painting Studio 2026 Top Picks





